Setup Procedure for how to disable / stop Jiofi Internet connect to Limited devices with identification by logging into jiofi.local.html/index.htm or 192.168.1.1 or 192.168.l.l URL’s…..
In this post we will see how to block or how to hide Jiofi Router from other users by signin into by jiofi.local.html/index.htm. Of late, Reliance Digital has enabled its LYF section (a subsidiary of Reliance Retail) which manufactures 4G compatible VoLTE smartphones. LYF has empowered ‘JioFi’ which is virtually a Wi-Fi facility for Jio mobile users. JioFi is brought up by Reliance Digital and is supposed to function as a portable broadband device.
The functionality is wide-ranged which also includes allowing multiple users as well as mobile devices to access Jio’s supersonic speed 4G internet connectivity in order to promote creation of personal Wi-Fi hotspots. It is currently entitled as a public Hotspot service being allied with JioNet.
How to stop JioFi Internet from Other Connected devices by login into jiofi.local.html/index.htm
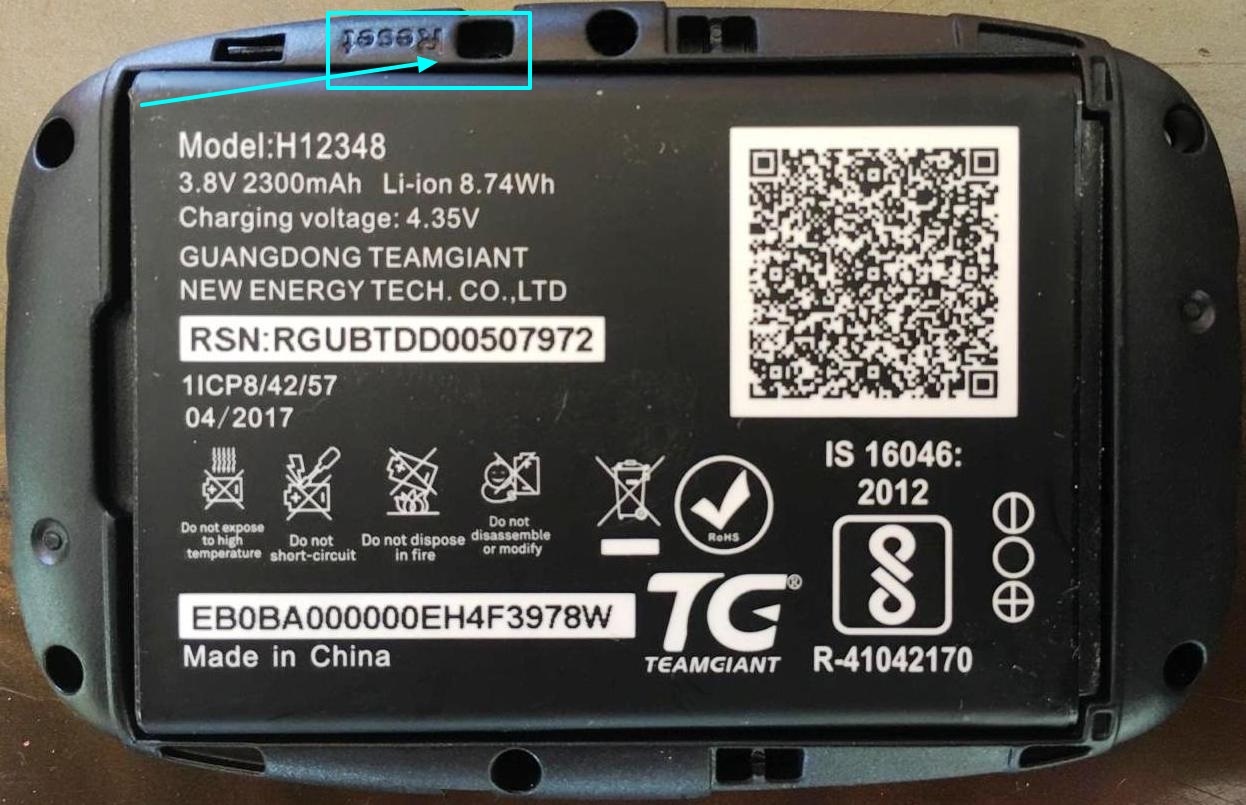
Lot of smartphone users are used the jiofi device. But some users are hack your jiofi wifi hotspot router without your permission. Here we will give some tips how to hide Jiofi 2 Mifi Router by signin through http://192.168.1.1 or http://192.168.l.l
- First Connect your JioFi3 mifi Hotspot dongle with your smartphone or PC or Laptop.
- Now open any browser installed in your PC or laptop. Preferably browser is ‘Google Chrome’.
- Enter the URL as given http://jiofi.local.html/index.htm
- Login with username as administrator and password as administrator.
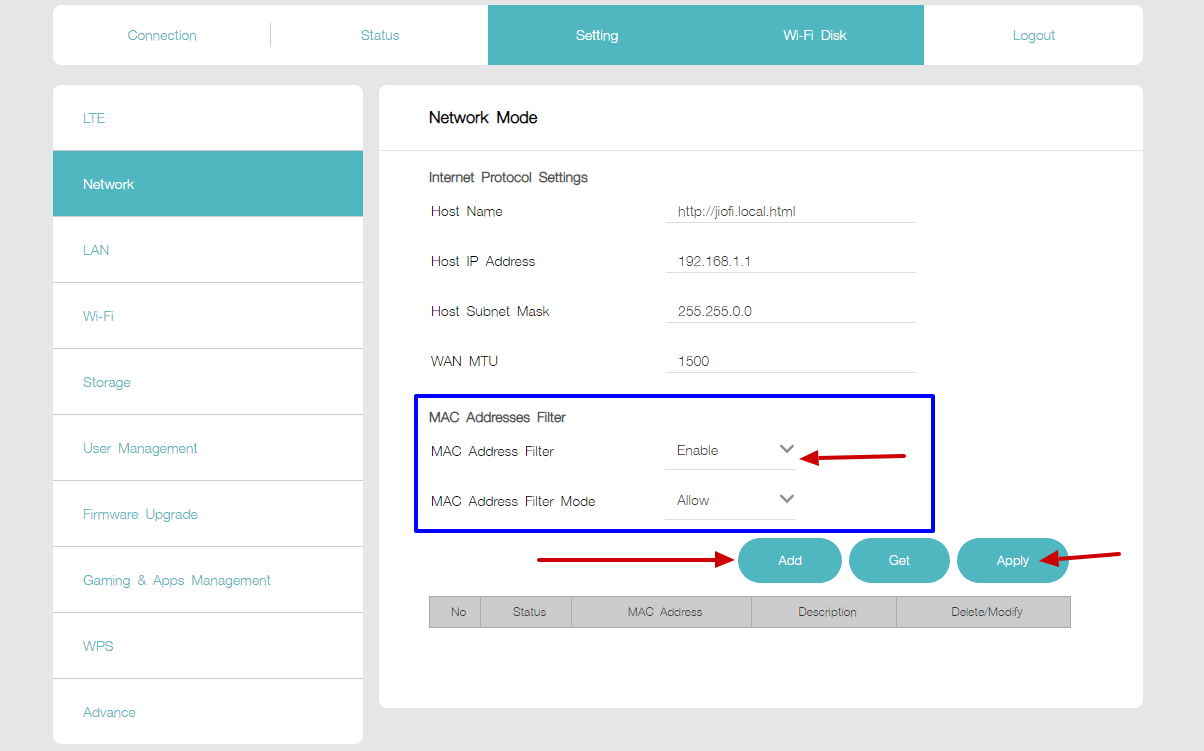
- Go to Settings and click on Network. You will see the option of MAC address Filter. Actually the option disabled by default. You can change in Enable mode.
How to Allow to connect your JioFi Router Preferred devices only
Every Jiofi user may have to try to allow only some Preferred devices to connect my JioFi Dongle. Just follow the proceeding steps as given below.
- First you must complete the above steps then coming to this preferred devices and you have to Enabled MAC address filter. You will notice an option of MAC address filter mode.
- Allow MAC address filter mode.
- Then Press on Add option (It is added to your Preferred devices list) and you will choose all the MAC address (devices) which you want connected to your JioFi 3 device.
Next click to confirm your Settings. Your Preferred Settings will be updated immediately.
How to Block / Disable JioFi Internet to Other Connected Users?
How to disable connected devices by logon into Jiofi.local.html?
Connect your JioFi device with your smartphone or PC. Visit https://jiofi.local.html and login with your Username and Password. Go to Settings option and click on ‘Network.’ You can now see the option of MAC Address Filter, which is actually disabled by default. Users are free to change in Enable mode.
How to know how many devices was connected my Jiofi dongle in Jiofi.local.html?
Visit http://jiofi.local.html and login to the homepage. Here, you have to access the ‘JioFi Network Status’ page to see all users who use the Wi-Fi. On the settings, look for the network option, after which a menu list will appear when you can select client list. You can see the names of the JioFi active users and the particular time they have been connected.